
I finally got my hands on this palette. I have been eyeing it up for a very long time now. It is the perfect way to add some bright colours to my kit as I feel like it was definitely lacking them. First, I want to say I got my palette on Amazon. Amazon happened to have the best price at £26.35 ( If you happen to know of a cheaper place to purchase the palette please share in the comments below).
Ok, onto the palette itself. This palette is one of the three palettes that came out with the Addicted To Pretty eyeshadow collection. Originally I really wanted to purchase the Pro palette which includes all eyeshadows from the three seperate palettes, contained into one bigger palette. It is definitely a lot more convenient, but sadly the Pro palette is only available at make up shows such as IMATS.
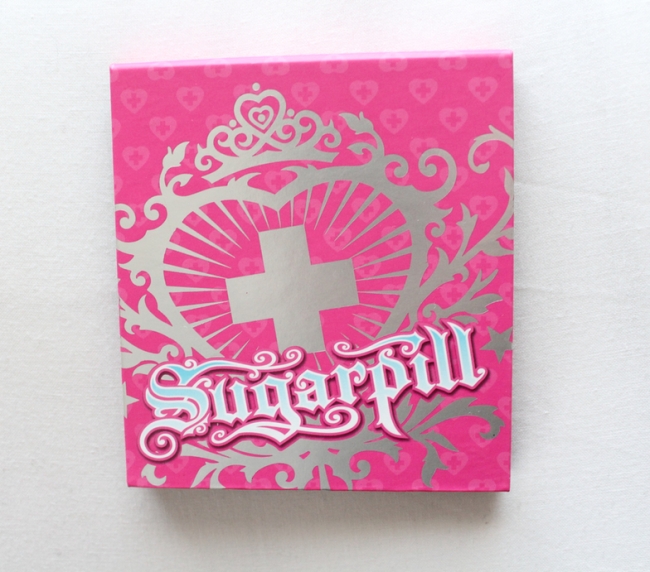
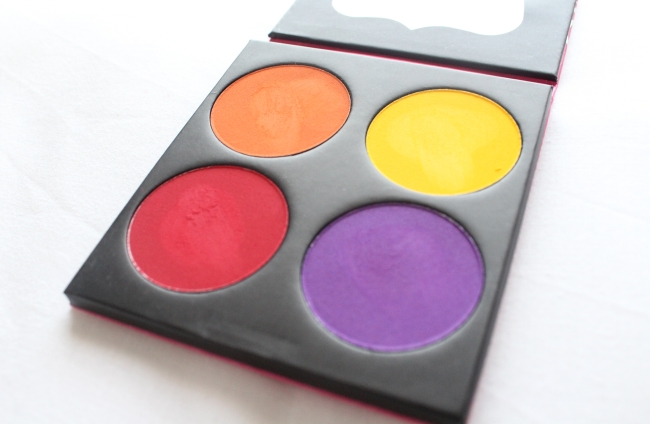
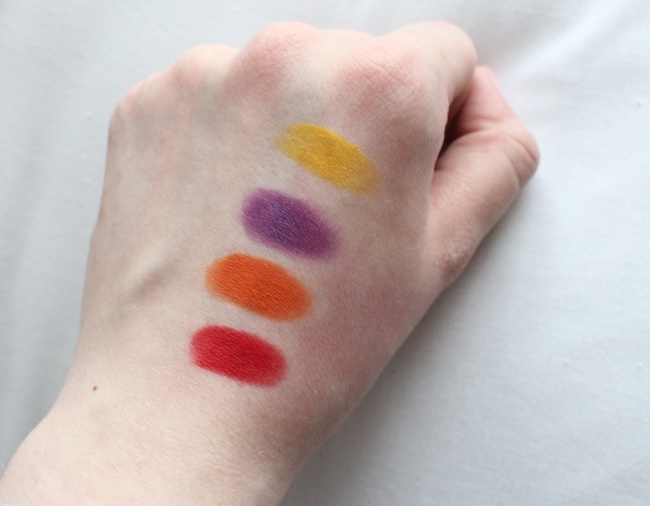
The ‘Burning Heart’ palette consists of a fiery red called ‘Love+’, a vibrant orange called ‘Flamepoint’, a true yellow called ‘Buttercupcake’ and the famous purple called ‘Poison Plum’. The colorful eyeshadows come in a cardboard packaging. Despite of it being cardboard the packaging is definitely very sturdy. The front of the palette has a very cool, pretty design on it, very typical of Sugarpill products. At the back of the palette you can find the names of the eyeshadows.
Moving on to the eyeshadows and their pigmentation. As you can tell by the swatches below (although I feel like the colours are even more vivid in real life) the pigmentation of these eyeshadows is truly amazing. They are just as vivid as they seem in the pan and they aren’t very chalky, which is something I really don’t like in eyeshadows.
I am really looking forward to using this palette! It is worth every penny you spend on it. After all it is money invested in good quality, pigmented eyeshadows.
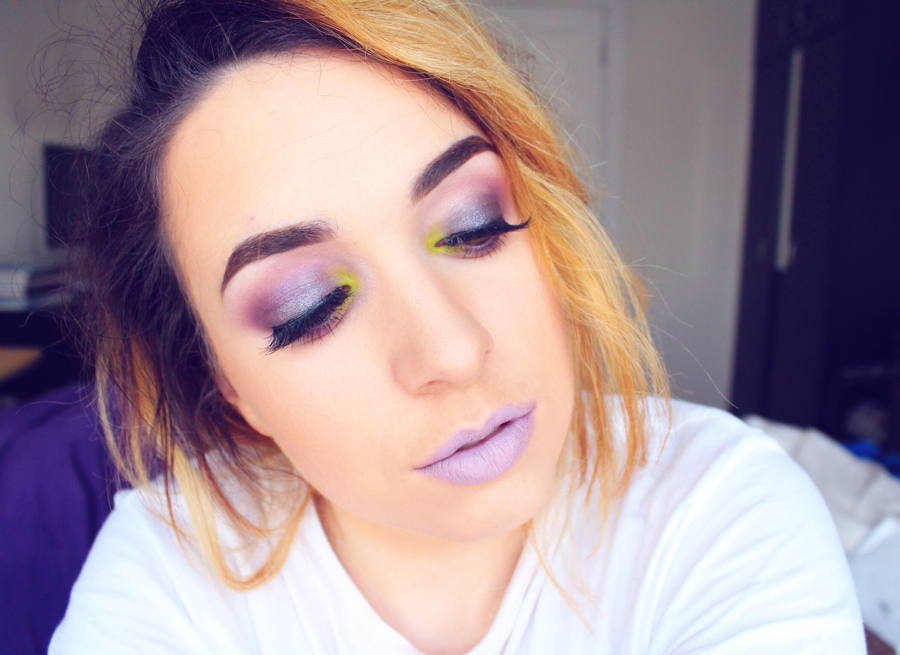
Additionally I thought I would add a kind of pictorial of how I would use the palette. The photos aren’t great quality because of the bad lighting, but I thought that i would post them anyway because you can still get the idea.
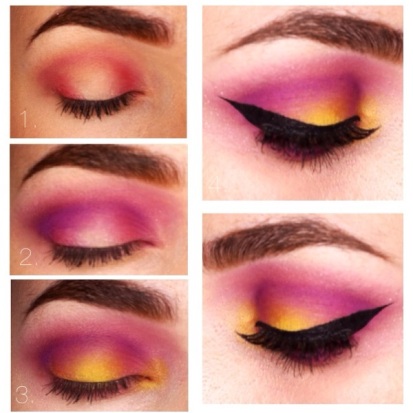
1. Apply the red eyeshadow to the inside and the outside of your eyelid, connecting it in the crease, leaving the centre of the lid colour free.
2. Deepen the crease and the inside and outside of your lid with the purple.
3. Proceed by adding the yellow shade to the centre of your lid as well as the inner corner of your eye.
4. Apply the orange shade to the bottom lid and deepen the colour with the purple.
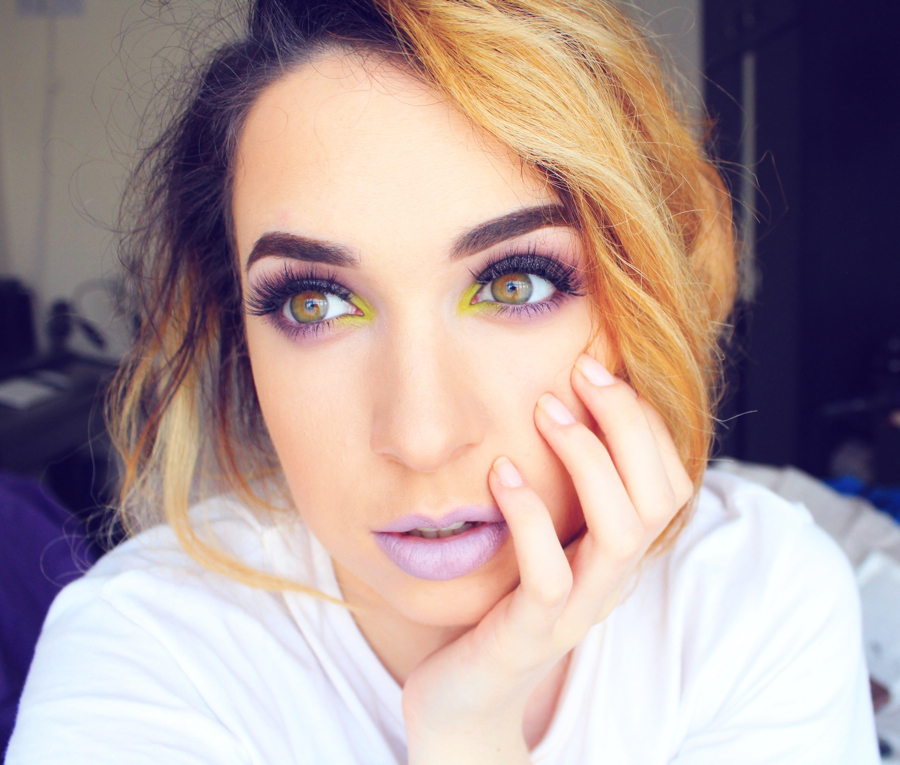
5. Apply eyeliner and some fake lashes and you’re done!
Hope you enjoyed this review and like the look I have created. Make sure you follow me on social media below. Until next time.
-Aggy x
Instagram | Facebook